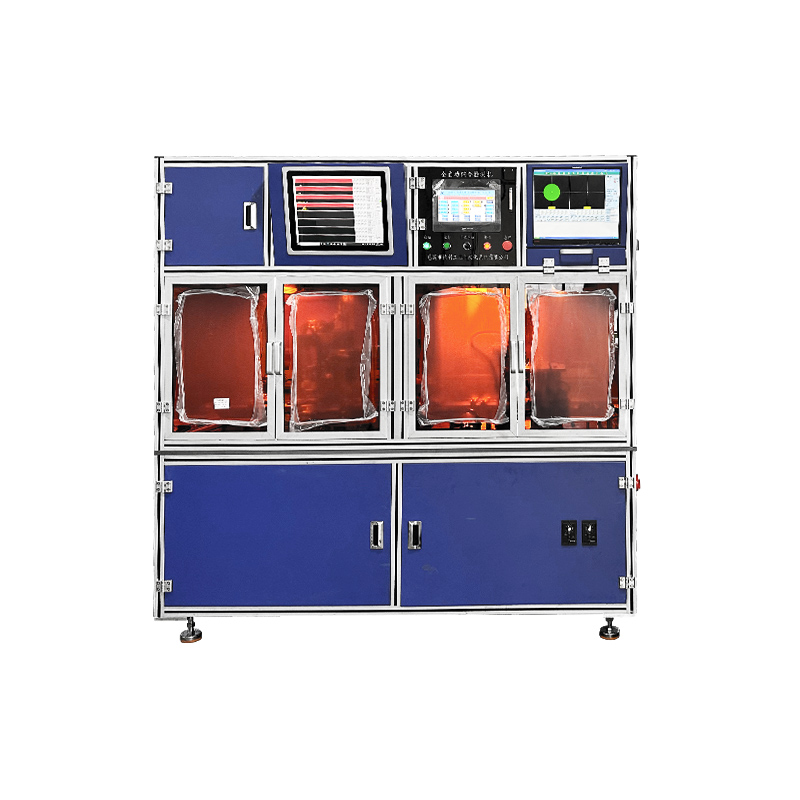
Main Performance Index
1. Sensitivity of flaw detection: cracks and defects that extend from the surface of the workpiece to the inside of the metal with a depth of ≥ 0.06 mm and a length of ≥ 2 mm; For cracks inside the metal that have not yet extended to the surface of the workpiece, cracks with a depth of ≥ 0.20mm and a length of ≥ 2 mm can be detected when the metal thickness between the upper edge of the crack and the surface of the workpiece is ≤ 0.2 mm.
2. Misjudgment rate: 0%, which means that 100% of non-conforming products are removed; Misjudgment rate (misjudgment of qualified products as unqualified products) ≤ 1%. All rejected products can be retested once to reduce misjudgment.
3. Detection frequency range: 100 Hz to 1 MHz, adjustable.
4. Band pass filtering, center frequency 250-1000 kHz, 8 levels.
5. Gain: Each channel has a gain of 0-60 dB, with an adjustment of 1 dB per level.
6. Phase: 0 °~360 °, with a step distance of 1 °.
7. Detection beat: 6 seconds
Principle of eddy current testing:
Eddy current detection is the application of electromagnetic induction principle, which excites the probe coil with a sine wave current. When the probe approaches the metal surface, the alternating magnetic field around the coil generates induced current on the metal surface. For flat metal, the direction of induced current is a concentric circular coil, resembling a vortex, called an eddy current. At the same time, eddy currents also generate a magnetic field of the same frequency, which is opposite to the direction of the coil magnetic field. The loss resistance of the eddy current channel, as well as the anti magnetic flux generated by the eddy current, are reflected back to the probe coil, changing the current magnitude and phase of the coil, that is, changing the impedance of the coil. Therefore, when the probe moves on the metal surface and encounters defects or changes in material, size, etc., the reaction of the eddy current magnetic field on the coil is different, causing changes in the coil impedance. By measuring this change with an eddy current detection instrument, the presence of defects or other physical and material changes on the metal surface can be identified. There are many factors that affect the eddy current field, such as the degree of coupling between the probe coil and the tested material, the shape and size of the material, conductivity, permeability, and defects. Therefore, the principle of eddy current can be used to solve problems such as metal material inspection, thickness measurement, and sorting
Technical parameters:
Sensitivity of flaw detection: cracks and defects that extend from the surface of the workpiece to the inside of the metal with a depth of ≥ 0.05 mm and a length of ≥ 2 mm; For cracks inside the metal that have not yet extended to the surface of the workpiece, cracks with a depth of ≥ 0.20mm and a length of ≥ 1mm can be detected when the metal thickness between the upper edge of the crack and the surface of the workpiece is ≤ 0.2 mm.
Eddy current non-destructive testing technology is a comprehensive non-destructive testing technique that measures and evaluates the physical and surface properties, as well as various drawbacks and other performance parameters of an object, without damaging the target to be tested. Its application scope is gradually becoming widespread with the development trend of science and production manufacturing. The use of eddy current flaw detectors for non-destructive testing is very common in the automotive industry. Many automotive components, such as brake system drums, brake discs, electric motor shafts, steering rods, and other important safety components, if there are small cracks on the surface of the components or internal defects, under the long-term effect of changing ground stress, eddy current testing cracks will gradually develop from the surface to the inside, or ultrasonic testing equipment quotes will expand from the inside out, resulting in safety risks. Therefore, the components must undergo a series of non-destructive tests using eddy current flaw detectors throughout the entire production and processing process. The common non-destructive testing methods for automotive components include radiographic testing, ultrasonic testing, magnetic induction eddy current testing, magnetic particle testing, and penetration testing, also known as the five major testing methods.
|


